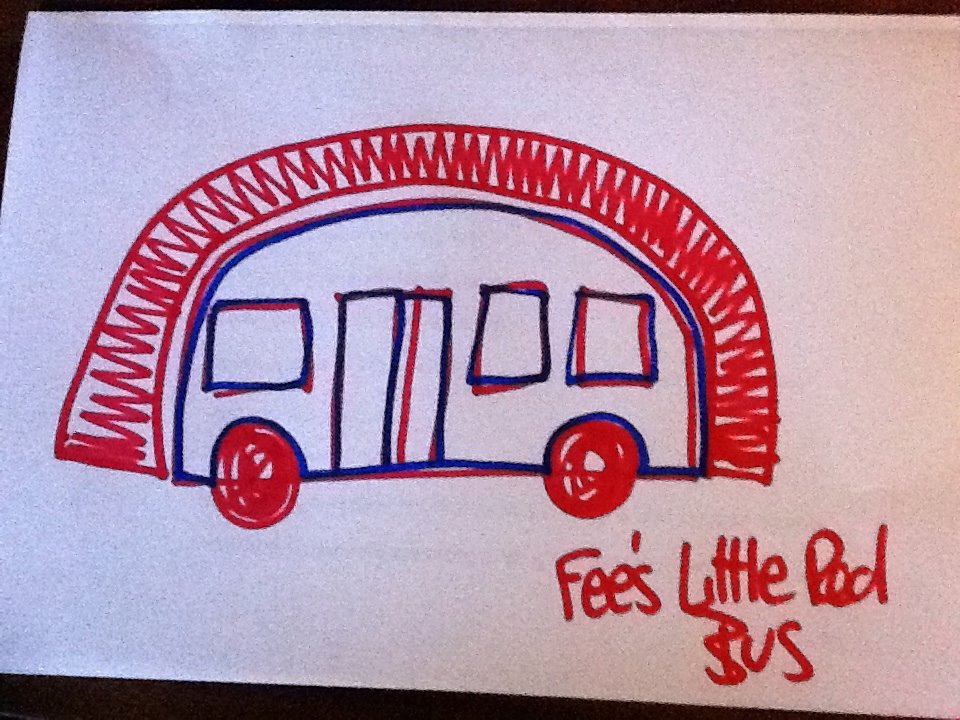
The very lovely Sayraphim Lothian is helping me learn how to turn my little-red-bus logo into gorgeous knitted toys. These will be sent to six of my wonderful crowdfunding campaign supporters – thank you so much for giving me the excuse to make something so totally brilliant!
Not only that, but Sayraphim is SO AWESOME that she’s open sourced the design. You can make your OWN knitted bus by following the lessons below. How fricken cool is THAT?! She started sharing the how-to-guides on my facebook page but then that Hugh Jackman thing happened and it all went a bit nuts, so I’ve pasted them here and will add to them as the lessons progress.
Want to join in? Please do, all welcome! And please drop in to ask questions, report any problems and share what you make. You can download this post as a PDF, post updates or pics on my facebook page or link to your work in the comments here :)
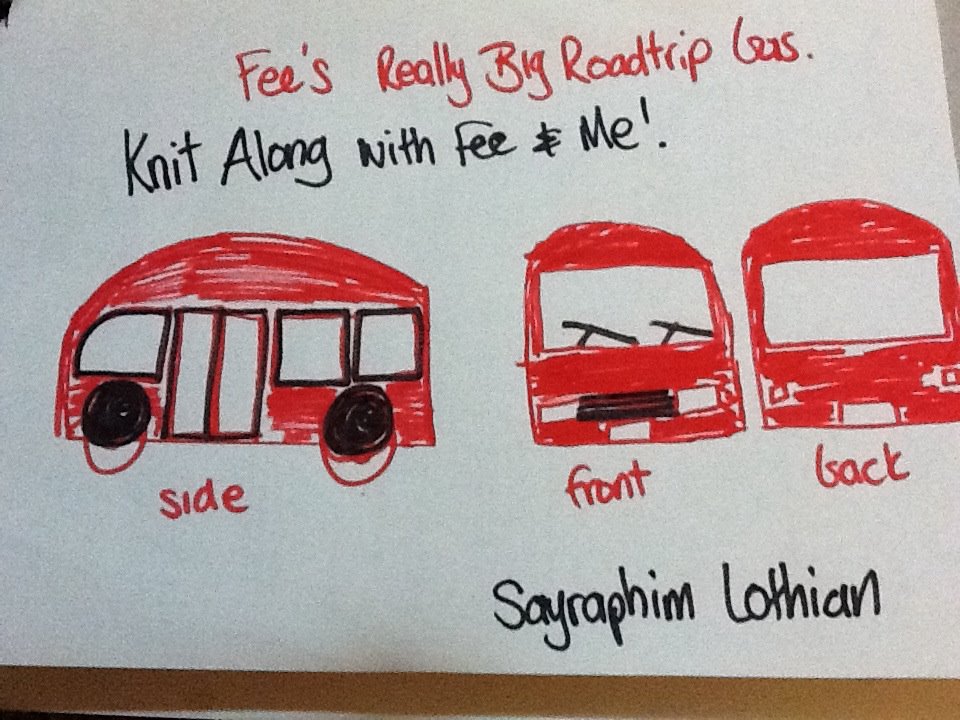
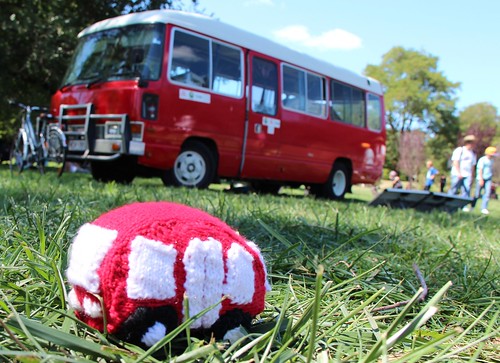
This is what we’ll be knitting:
But before we start, some background and thanks.
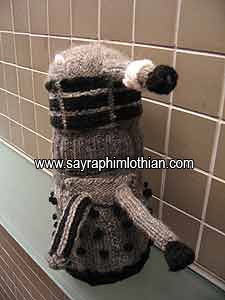
I first met Sayraphim via the Freeplay Indie Games Fest a couple of years ago and we’ve been twitter-friends since. When I started tweeting about my new hobby, knitting, she got all excited and showed me some of the incredible work she’s been making over the years. I must admit my inner #knittingnerd went all-a-flutter at this one:
Thanks masses to Sayraphim and my sexy campaign supporters, obviously. But two other people need a mention. My fabulous little-red-bus logo was generously designed by James Hutson. Inspiration for even making a bus in the first place came from this fabulous photo and work by Leah Sutton via knitting community Ravelry:
Now for the good bit… Let the lessons BEGIN!
Prep time…
hi guys! Ok, so as you know, Fee and I will be knitting her Big Red Bus on this page from Wednesday. But I thought we should start today with the stuff you’ll need to play along at home…
We’ll be knitting with red, white and black yarn, 8 ply, which is Sportweight in the US. We’re also knitting with 2(ish)mm needles, you can knit this with whatever you have, but smaller needles will make tighter stitches which means you will be less able to see the stuffing through the knitting. You’ll also need a few fistfuls of stuffing, a row-counter and a darning needle. So gather your supplies, find a comfy chair, make yourself a cuppa and we’ll see you on Wednesday night for the first installment of Knit A Bus With Fee And Me!
Part 1…
Ok, the first in the Knit Along w Fee n’ me instructions to knit your very own Little Red Bus… We’re starting with the bottom of the bus, so all Fee’s great technology doesn’t fall out when she goes over bumps…
To knit the bottom of the bus is very simple.
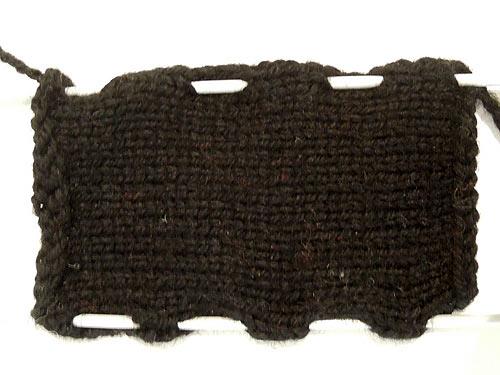
Cast on 17 stitches in black.
Knit in stocking stitch (knitting one row, purling the next) for 37 rows.
Cast off.
Part 2…
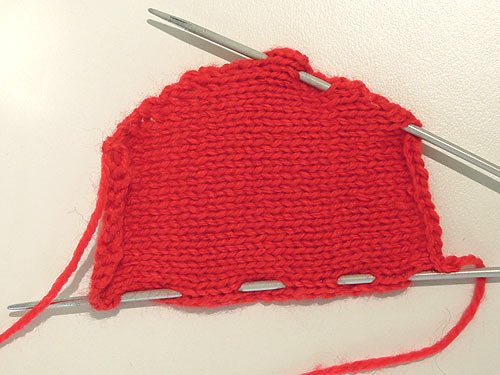
And because black bus bottoms aren’t very exciting, I’ve cunningly knit up the second part of the bus for you to knit along at home with as well. This is the side of the bus, and you’ll need to knit two.
To knit the side of the bus is a little more complicated but not very. It’s knitting a gentle curve to make the top of the bus match Fee’s logo.
Cast on 14 stitches in red.
Row 1 – knit the whole row
Row 2 – purl the whole row
Row 3 – knit to the second last stitch, then increase by one (so you end up with 15 stitches)
Row 4 – purl the whole row
Row 5 – knit to the second last stitch, then increase by one (so you end up with 16 stitches)
Row 6 – purl the whole row
Row 7 – knit to the second last stitch, then increase by one (so you end up with 17 stitches)
Row 8 – purl the whole row
Row 9 – knit to the second last stitch, then increase by one (so you end up with 18 stitches)
Row 10 – purl the whole row
Row 11 – knit to the second last stitch, then increase by one (so you end up with 19 stitches)
Row 12 – purl the whole row
Row 13 – knit to the second last stitch, then increase by one (so you end up with 20 stitches)
Row 14 – purl the whole row
Row 15 – knit to the second last stitch, then increase by one (so you end up with 21 stitches)
Row 16 – purl the whole row
Row 17 – knit the whole row
Row 18 – Purl the whole row
Row 19 – knit the whole row
Row 20 – purl the whole row
Row 21 – knit the whole row
Row 22 – purl the whole row
Row 23 – knit to the second last stitch, then decrease by one (knitting two stitches together so you end up with 20 stitches)
Row 24 – purl the whole row
Row 25 – knit to the second last stitch, then decrease by one (knitting two stitches together so you end up with 19 stitches)
Row 26 – purl the whole row
Row 27 – knit to the second last stitch, then decrease by one (knitting two stitches together so you end up with 18 stitches)
Row 28 – purl the whole row
Row 29 – knit to the second last stitch, then decrease by one (knitting two stitches together so you end up with 17 stitches)
Row 30 – purl the whole row
Row 31 – knit to the second last stitch, then decrease by one (knitting two stitches together so you end up with 16 stitches)
Row 32 – purl the whole row
Row 33 – knit to the second last stitch, then decrease by one (knitting two stitches together so you end up with 15 stitches)
Row 34 – purl the whole row
Row 35 – knit to the second last stitch, then decrease by one (knitting two stitches together so you end up with 14 stitches)
Row 36 – purl the whole row
Row 37 – knit the whole row
Cast off.
You’ll need to knit two sides for your Little Red Bus and cleverly you knit them the same way.
Join us next Wednesday we’ll be knitting the front back and roof of the bus! Then there’s just some little windows and wheels and we’re away, Little Red Busses alongside Fee’s Really Big Roadtrip bus! WHOOO!
Part 3…
We’re knitting the back, top and front of the bus in one long strip.
Cast on 17, the same as the bottom of the bus (which makes it a uniform width) and then knit 77 rows. This should make it long enough to be the back, top and front of the bus (though feel free to check it occasionally and adjust the length accordingly when you get it just right). I couldn’t photograph it properly because it kept curling up, so instead I drew this step for you.
Next, we’re sewing the top/back/front to both the sides… Ready?
Part 4…
Today is windows, windows, windows. Which are basically white squares and rectangles, but don’t tell anyone. We want them to think we’re super tricksie!
Ok, for the front windscreen:
Cast on 12
Knit (in stocking stitch) for 10 rows
Cast off
Repeat for back windscreen
For the side windows:
Cast on 6
Knit stocking stitch for 10 rows
Cast off
Make 5 of these
For the side doors:
Cast on 3
Knit stocking stitch for 17 rows
Cast off
Now all we have are the wheels, sewing the little red bus up and then a bit of decorative stitching. The Little Red Bus is almost there!
Part 5…
Ok, heading for the home straight! Now it’s time to make some little wheels for your little bus…
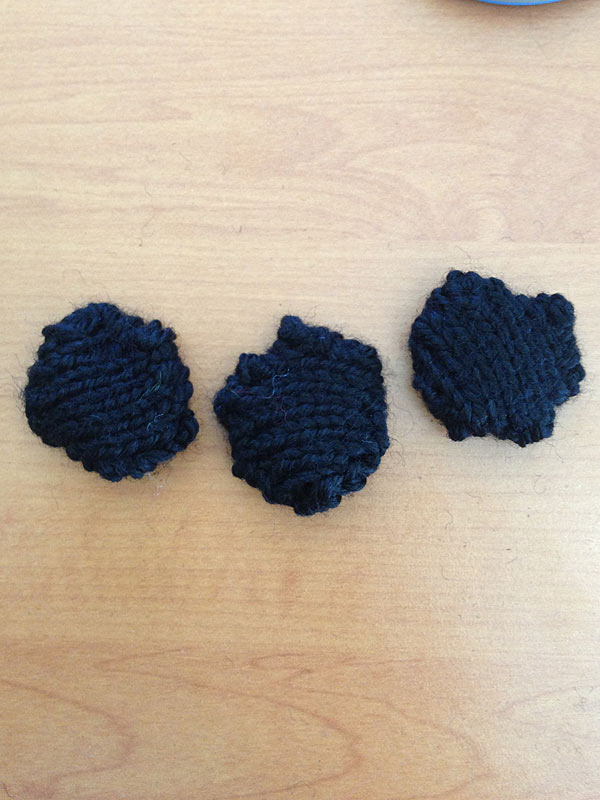
It’s tricky to get things perfectly round when knitting, so don’t worry. Your wheels, like my wheels, are going to be wonky and adorable and that’s ok.
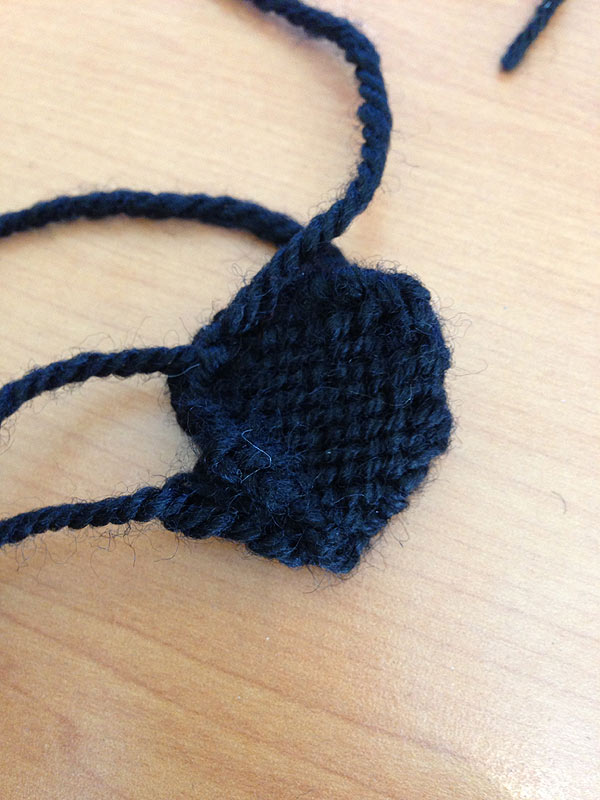
Cast on 5
R1 – knit
R2 – increase each end (7)
R3 – knit
R4 – increase each end (9)
R5 – knit
R6 – decrease both ends (7)
R7 – knit
R8 – decrease both ends (5)
R9 – knit
Cast off
Make 8 of these
You’ll need to make eight of these as we’re sewing two together to make the wheels thicker and firmer and hopefully able to take the weight of your Little Red Bus.
Put two little wheels together, right side in (remember, the right side is the little ‘v’s, the wrong side is the little ‘-‘s) and stitch around them, leaving a little non-stitched bit to pull them inside out.
When you turn them inside out, run your finger or needle along the inside seam, to make sure it’s turned fully. You don’t need to stuff the wheels, They’ll hold up quite nicely as they are. Sew up the little hole you turned them through and then you can sew each yarn end into the wheel to tidy it all up.
Hubcaps are really easy, I just took white yarn and stitched over and over in the middle of the wheel until it was covered and there was no black showing through.
Part 6…
Ok, so the last bit is sewing all your bus bits together. We’ll start with a Side and the Top.
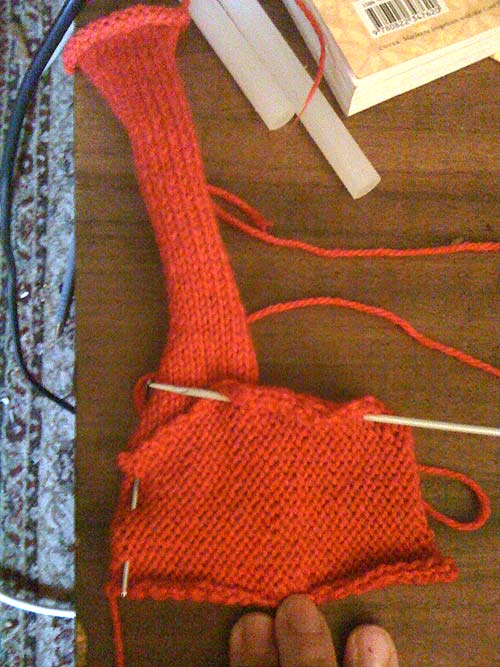
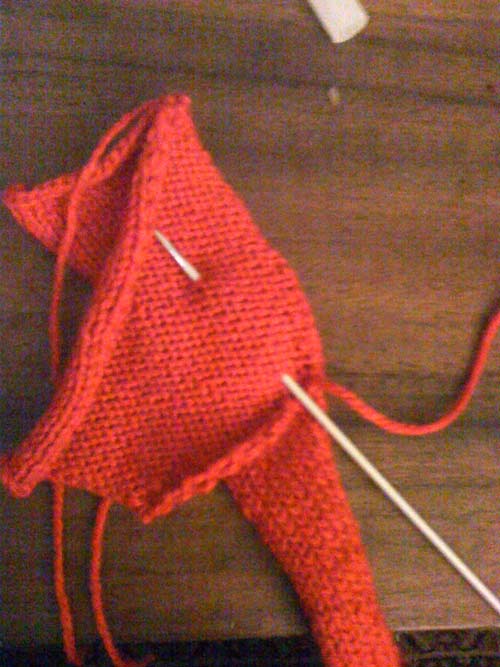
Line up the corner of the long side of the Top with the corner of the arching line of the Side, with the right sides facing together. Ok, that sounds very confusing but check out the photo and hopefully it should all come clear. Don’t worry about the knitting needle in the photo, it was just to keep the knitting from curling up.
Now sew along the edge, bending the long Top piece around the arch as you go. It should be around the same length. If the Top is too long, don’t worry, we’ll just hide that bit inside the bus itself and no one will know.
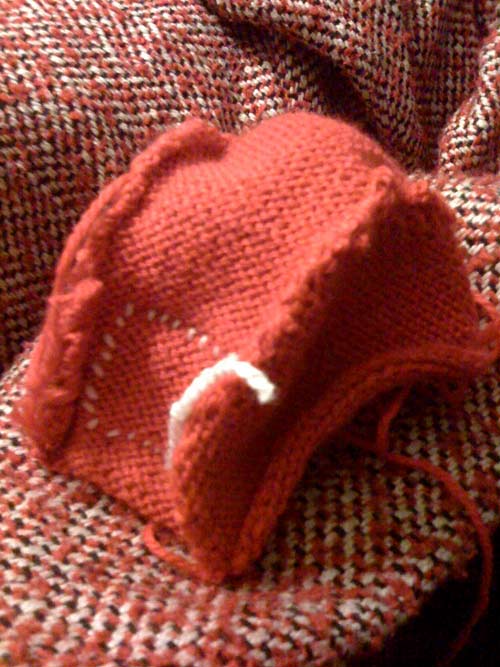
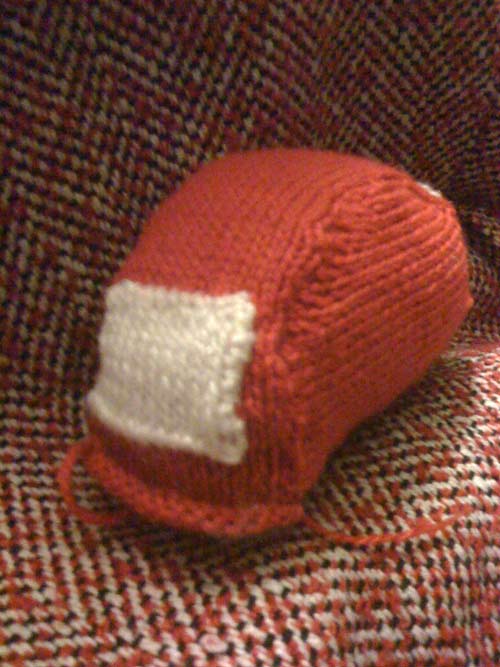
Once the Top is sewn to a Side, sew the second Side to the Top in the same manner, lining up the corners and bending it around the arch. Once you’ve got that done, you’ll start to see the shape of the Bus (don’t worry about the white stitching you can see in the photo below, I got over excited and sewed a window on before I took the photo and then had to pretend that I hadn’t).
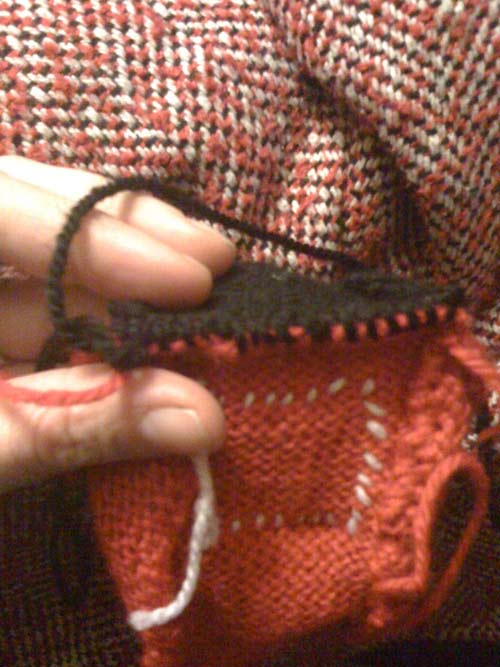
So we’ve got our Sides sewn to our Top. The next bit is the little black Bottom.
Again, line up the long edge of the Bottom with the long remaining edge of the Side and start sewing. I used a black yarn to sew, you can choose whichever you like (black or red).
Sew along the Long edge, then across the Short edge, then along the second Long edge, then stop.
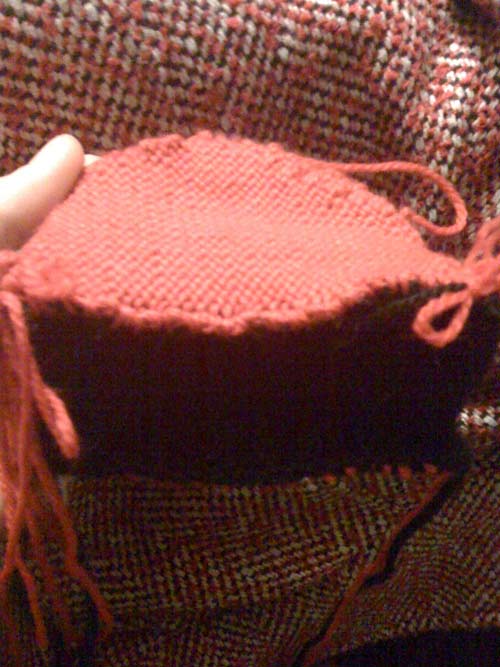
The last remaining Short edge we’ll leave open so we can turn the little bus inside out. Again, don’t worry about any yarn ends, they’ll disappear once we turn the bus inside out. Once you’ve turned it inside out, run your knitting needle along the inside of each seam to ensure it’s fully turned.
Now you can stuff your Little Red Bus. Don’t over stuff it, it’ll start looking more like a Little Red Ball if you do. Stuff it with little pinches of stuffing, rather than big handfuls – it’s the difference between using ball bearings and tennis balls to attempt to stuff something. One will only make tiny lumps, one will make big lumps with no chance of filling the space properly.
Once it’s stuffed to your satisfaction, you can sew up the Short Edge hole or fully enclose your Bus.
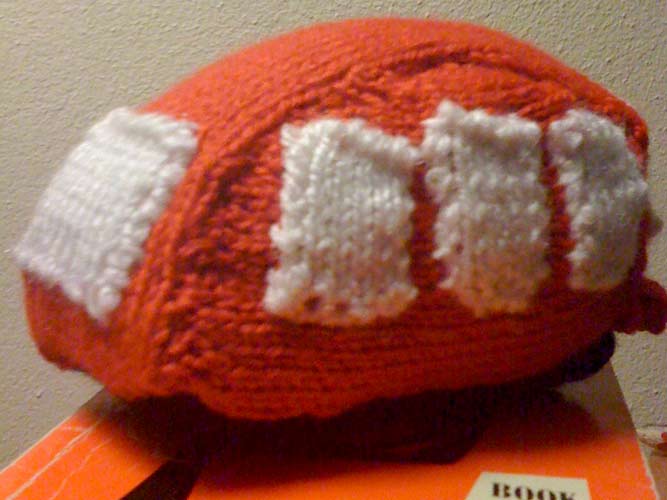
The second last task is to sew the windows on. The big squarish ones are the front and back windscreen, then on one side are the three smaller windows, the other side has two doors in the middle and a window either side.
The last task is sewing on the wheels. I positioned them with about half of the wheel against the bus and half below the bus. This was to ensure that the bus rested on it’s wheels and not it’s bottom. I sewed half the wheel on and then wove in the remaining yarn ends. This just means threading your needle with each yarn end, one by one, then stabbing the needle into the bus and pulling it out the other side. Any remaining thread hanging out of the second side you can cut off, as there’s a long yarn tail hidden inside the bus. Doing this, rather than just cutting off any yarn tails where they start, ensures that your knitting won’t unravel.
There you go! You’re now the proud owner of your very own Little Red Bus.
Thanks for playing along at home!
Sayraphim x
[and thanks to Sayraphim Lothian for such a beautiful how-to-guide (which you can also download as a PDF). You can see more of her ‘random acts of guerilla kindness’ at http://SayraphimLothian.com and return the love by supporting her crowdfunding project, “Guerilla Kindness for Christchurch” by 16th February 2014].





2 comments » Write a comment